Wednesday, June 26, 2013

I made my first tote!!

It was easy, but not what I expected really.

I chose a template from a book (I'll picture it below) that was labeled something like Lazy Sunday Bag because you were supposed to be able to do it in short time and it was a beginning bag (not because I'm lazy!). I did leave out the magnetic clasp because I don't think I'll need it. In the end, it was definitely easy to do and I'm going to alter my next one to make a pocket with dividers for knitting needles.

This might sound silly, but I want to make people aware of just how much fabric you need compared to what you use. There will be large scraps left over from knocking the template out of the fabric because the handles are so long. Also, if you buy interfacing (and I did) keep in mind how tall it is. The template didn't go from the top to the bottom of the interfacing because it wasn't tall enough so I'm left with some rather odd shaped pieces left over. Luckily I always buy more than I need so I had enough. And, if you end up with leftover scraps, check out my posts about coffee cozies and key fobs because the scraps are perfect for it!

This is Bags the Modern Classics. Obviously, I checked it out from the library (my favorite place to get books!)

Lots of cutting and scraps left over! (scraps not pictured)

Just a little picture of the pocket. =)

This was the oddest part. You pretty much sew the top up and pull the whole bag out through a hole in the lining.

Final bag before tying the straps.

And it's done!
I had a hard time taking this picture, but it's the little pocket inside...don't you just love the fabric!
In case anyone is interested, I bought this great Ghastlies fabric a long while ago but didn't know what to make with it. I'm really glad I got to actually make something for myself for once! Of course, I'm using it as a guinea pig for the next bags, but oh well. =)

Monday, June 24, 2013

Fabric, fabric, fabric...

...I always buy too much!

If you sew you probably know how this feels. I buy way too much fabric. Even when I'm not making something, I just see cute fabric and I have to have it. You never know when you might need it!! So, I decided to inventory my current stash (though this isn't technically all of the bits and pieces I have) and post it here.
The mermaid pattern is a perfect example of "I'm sure I can use this later!"

Some generic fabric and some school spirit fabric!

These are some of my favorites and are great for gifts!

Here we start to get into the flannel fabric on the left.

A lot of different textures here from linen fabric to cotton to flannel!

Here we have the thicker of my fabrics: duck cloth & outdoor fabric!
I've had to rearrange on multiple occasions to fit all of this in. Most recently (this last weekend) I moved all of my fabric to a drawer that would fit the home-made bolts. They're almost perfect but would fit better if I could use up some of this fabric! ;-)

Let's talk about traveling...

...and bringing the things we can't live without!

Okay, this is only technically true. Today I'm posting about a hair straightener travel case I made, but technically I can live without my hair straightener. But, I do know that there are people who can't (and I'd definitely rather have mine on hand) and this little sewing project is great!

I found the tutorial on Sew4Home (yes, again!) and I made it in one afternoon, even while having a 13 year old help me with some parts. In fact, it was a gift for her friend so I didn't reap the rewards technically, but I always love making new things so that's a reward in itself.

The open travel case with straightener inside
My helper demonstrating how it ties closed

The whole thing from the front view

The back has a neat pocket for the cord to tuck into

As always, I'd love for people to be able to make this themselves, so here's the tutorial from Sew4Home: Tutorial! It also works for holding a curling iron instead. ;-) Enjoy and go sew stuff!

Friday, June 21, 2013

Keyfobs are all the rage...

...and so incredibly easy to make!

Ever since I found this tutorial (from Sew4Home again!) I haven't stopped making these easy little key fobs (also called key chains). They're the easiest thing to do. Plus, I found out that I can print my own fabric designs for the outside and because the fabric is thicker, it works great!

Here are a few I have made, but trust me there are many, many more!

For the Beaver fans in my extended family!

Whoooo is this for? Crafty Pants (my bestest crafting friend)!

This was actually made for a matching clutch and they looked adorable together!
Find the tutorial here: Sew4Home Key Fobs. One note about these is that they actually turn out quite long. I've been shortening them ever since I started making them without the tutorial (that's how easy they are!)

Now go out and use those fabric scraps to make a ton of these! Oh, lastly, I got my key fob hardware from Amazon. It wasn't very expensive and I got about 25 of the sets.

Apparently, I made a blanket once...

...though I might never again because I hate working with so much fabric.

Buuuttt, it's an easy tutorial and the binding isn't too hard so I'm posting it here. Plus, I made a dang blanket! That's a pretty big deal for me!

Cute little bow made from left over binding to tie it all together!

Close up on corners...don't judge my terrible stitching here!

The whole blanket!
Here's the tutorial for this comfy blanket: Minky marshmallow bound blanket from Sew4Home (of course!)

Because your hair is beautiful...

...you need beautiful things for your hair!

I went through a phase of not knowing what to do with my hair (okay, that's pretty much my life). It's straight and never does what I want. However, something I figured out is that headbands often add a nice bit of color to your hair (looking like you actually tried to do something with it) and they're great for keeping hair out of your face. The issue with these is that I easily get headaches from them as most people probably do. I finally found some plastic headbands that bend at the temple to prevent headaches, and they are definitely my go to for a general hair-back kind of day. However, they're boring. Really boring.

Enter fabric headbands!! After finding a tutorial online about how to make these wonderful things, I haven't really stopped. Mostly I've made them for other people, but on occasion I get to keep one for myself. I've also gotten into altering them to fit my style. Here are some of my creations.

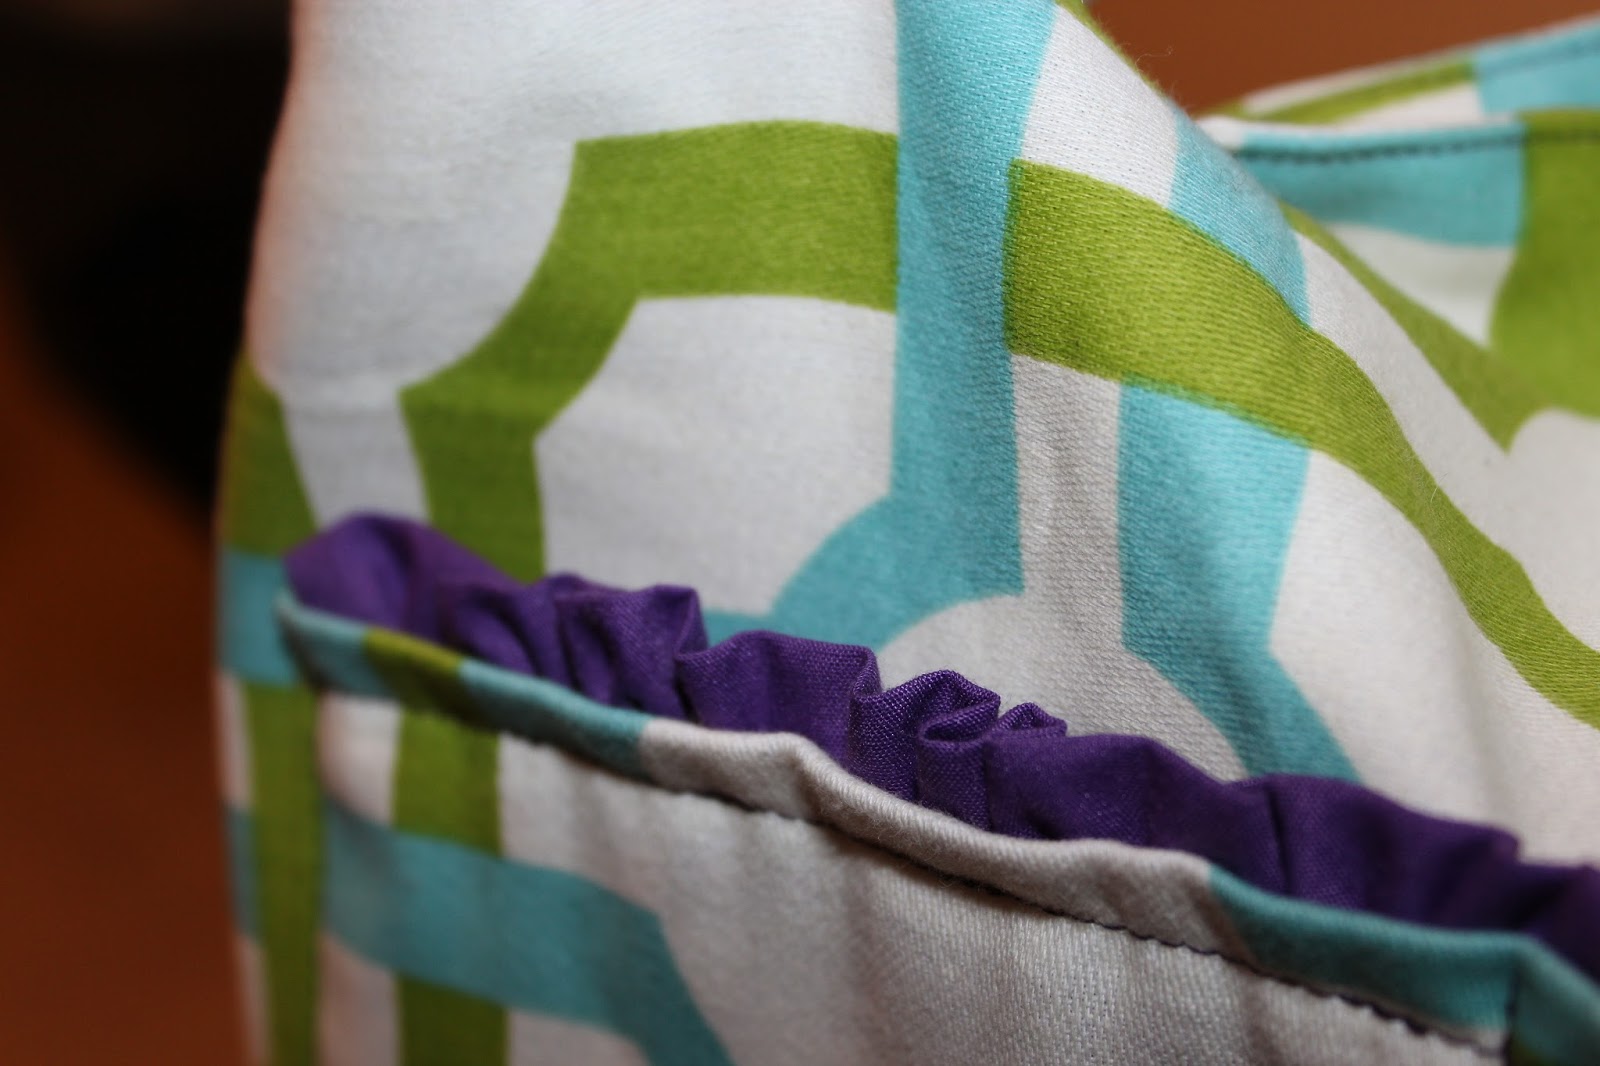
From the original tutorial the flowers look like this.
This is Crafty Pants showing off a headband for me!

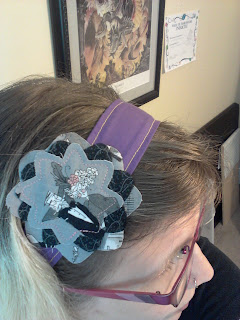
I've started this new flower type (though it should be facing downward, not forward).

So far, I like the ones with the new flowers best. It turns out that I can print my own fabric for the front flower (no pictures here) and it makes for a super unique headband. The fabric ones also last longer without causing headaches. Plus, I make the band kind of thin so it stays on my head longer without moving around. I should note that these tie underneath your hair so the knot can show through with thinner or short hair. Doesn't mean it looks bad, though!

Here's the tutorial that I've been using: Sew Divertimento blog (headband tutorial). I'm sure there are others, but this one was pretty easy for me to grasp quickly. I don't even use the tutorial anymore, just the template I created.

What time is it??

Crafting with Adventure Time!!!

Over the last year I really got into Adventure Time (the animated show). Something about its oddness and weird humor just resonated with me. After watching some of the episodes I participated in an exchange, via the website Reddit, and I decided to make a lot of the items I was sending. Yes, I know I don't own the copyright but I wasn't selling anything and in this case I would consider it advertising for the show. Plus, I did purchase some actual items from Hot Topic.

For this exchange I ventured into felt sewing by hand to make a brooch. I ended up making another one for someone else. In addition, I made a bunch of earrings and some art work (not posted here).

Sets of earrings using images I recreated on the computer (except for the bottom, middle set)

Princess Bubblegum...in brooch form!

The backs of the brooches look like this.

Decided to whip up a Fiona brooch. I love the rosy cheek detailing!
Since the purpose of this blog is to help teach people, I would love to post a tutorial. However, these were just done by me without tutorial help. I hand stitched the brooches using some thread that was probably not meant for this (it's a bit thick). I only used hot glue if I had to in order to hold the pin. In fact, I think I made a brooch without any hot glue at all and that worked out well. The trick is knowing what accents you want where and where the thread will go to hold it all together. On more than one occasion I have started to make a brooch and realized that I missed a step.

If anyone is interested (or even reading this), I can post pictures of the materials if you would like.

Hardest project so far...

...and of course it was a gift I don't get to keep for myself. ;-)

I've been sewing for quite a while now but somehow I can't get myself to venture too far from small ticket items. But, for Hanukkah this last year I thought I'd attempt something on a bigger scale. Usually, I have intentions of making things (to save money and put thought into a gift) but they don't always pan out. This one wasn't done in time for the holiday get together, but at least it got done!!

So, without further ado, I present to you the giant bag/purse I made (using this tutorial from Sew4Home: Everything Old is New again Toile Tote)

The whole bag!
My first gathering/ruffle attempt.

Button accents made a colorful addition!

Some inner detailing. There was a pocket and a magnetic closure.

I'm attempting some more purses now that I basically have my life back but I'm going to start with ones that are easier than this!

More posts coming today about other crafting...